
Menu
Step-by-Step Concrete Patio Installation in Miami Gardens
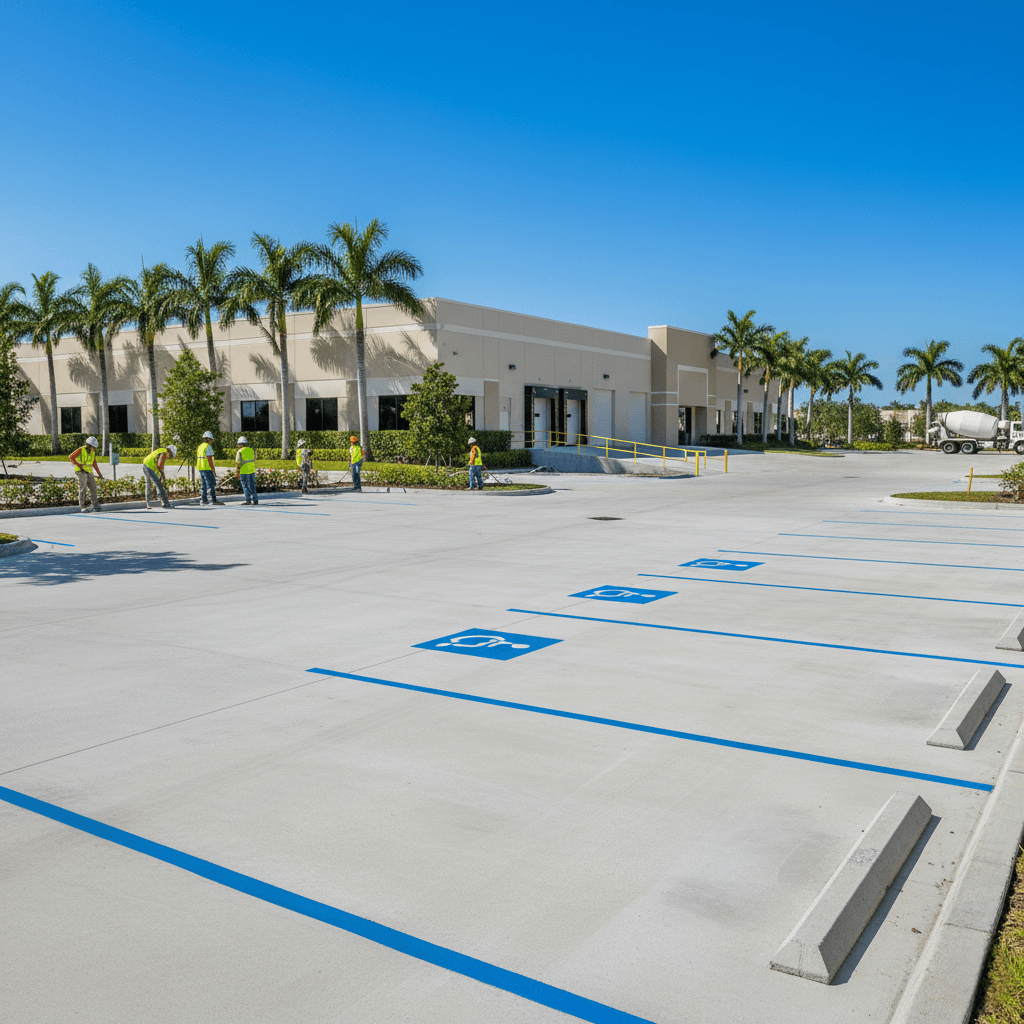
Concrete Patio Miami Gardens
Creating an outdoor living space that extends your home’s functionality requires careful planning and proper execution. A well-constructed concrete patio provides years of reliable service while enhancing property value and creating the perfect setting for family gatherings, outdoor dining, or quiet relaxation. Understanding the installation process helps homeowners make informed decisions and ensures project success. Whether you plan to tackle aspects of the work yourself or hire professionals, knowing each step from initial planning through final finishing empowers you to achieve outstanding results that withstand South Florida’s unique climate conditions.

Planning for a Successful Concrete Patio Project
Successful installations start with a solid plan — identifying the size, location, design features, and budget for the project. First, think about how you will be using your outdoor space. A family that enjoys hosting large groups of friends needs a lot more square footage than a couple who likes to have quiet morning coffee outside. Typical sizes of residential patios are usually 12 feet x 12 feet (or smaller) for cozy spaces, to 20 feet x 20 feet (or larger) for expansive entertaining areas.
When choosing the location for your patio, there are several factors to consider — and some are more important than others. Location can impact functionality as well as the long-term success of the project. In addition to finding a good location that has enough sunlight to allow the concrete to dry quickly after Miami Gardens’ frequent rains, it is also important to consider the placement of trees, bushes, etc., to provide shading for your patio during the hottest part of the day. Also, properties located near rolling hills and wind-swept locations benefit from placing their patio in the direction of prevailing breezes, and properties located near the west side of the Palmetto Expressway will want to keep the western sun out of their patio due to the heat generated by the sun.
In addition, proximity to your home’s entrance is important for ease of entry; however, you also want to keep the patio far enough away from the foundation of your home to prevent water damage.
Permits and Local Regulations
Many regulations govern the construction of a concrete patio in Miami Gardens. Before you begin, contact the Building Services Division to find out what type of permits you will need to obtain. Many residential patios will need a building permit to ensure compliance with the city’s setback requirements, drainage requirements, and structural requirements. Typically, the permitting process can take a week or longer; therefore, it would be wise to include this in your overall project schedule. If you do not follow the proper procedures and get a permit, you could face fines and/or have the patio removed.
Preparing the Site and Digging
The preparation and excavation of the site will determine the performance of your patio for decades to come. Begin by staking out the perimeter of your patio with string lines and stakes. When you are satisfied with the size of your patio, measure 18 inches beyond the stake line to give you enough room to build and pour the patio. To verify that the corners of your patio are perfectly square, use the three-four-five method. Measure 3 feet along one side of the corner, 4 feet along the adjacent side of the corner, and measure the diagonals (5 feet).
As mentioned earlier, the amount of excavation required will depend on the total slab thickness and the amount of base material you need to install. In general, you will need to dig at least 6-8 inches of soil to allow for an inch of compacted gravel base and 4 inches of concrete. Remove all vegetation, roots, and organic material from the area where you will be digging. Over time, the decomposition of the organic material will create voids under the slab, which can lead to cracking and/or settling. Use a plate compactor to compact the exposed soil to create a solid foundation that will resist shifting.
Addressing the Unique Soil Conditions in Miami Gardens
Soil composition in South Florida varies greatly from one location to another. Many areas have very high clay content, while other areas have sandy conditions. Soils that contain clay tend to swell and shrink with moisture, which can cause movement of the concrete. Sandy soils drain well, but do not provide much support. Therefore, it is recommended to test the soil conditions in areas similar to Lake Lucerne or near NW 183rd Street to see if you need to make any adjustments to the base requirements. Soils that are poorly suited for a patio may require a deeper base or specialized methods of stabilizing the soil.
Installing the Base and Drainage System
An adequately built base provides the support system and drainage system for the patio. Crushed stone or gravel is the best choice for a base. It is available in various sizes, but the smaller the size of the material, the better it will pack down and provide a solid base. To create a uniform density throughout the base, lay down two-inch-thick layers of crushed stone or gravel, and then compact them thoroughly before laying down the next layer. Repeat this process until you reach a four-inch compacted base. Properly compacting the base will prevent the patio from settling and cracking in the future.
Miami Gardens receives a great deal of rain during the summer months. Due to the large amounts of precipitation, drainage planning is extremely important. Your patio must have a minimum slope of 1/4 inch per foot away from any structure. This allows the water to run off the patio and does not create standing water. A 10-foot-wide patio that runs from your home will have an outer edge that is 2.5 inches lower than the point where it meets your home. Properties located in the Bunche Park neighborhood or near the Palmetto Expressway corridor may have to address drainage issues related to the surrounding grade and water flow patterns.
Setting Up and Installing the Formwork
The formwork will establish the shape and size of your patio, and it will hold the concrete in place until it sets up. Straight lumber, such as 2x4s or 2x6s, is best used for formwork. Make sure the lumber is free from excessive warp and damage. Assemble the formwork around your excavated area perimeter, secure the corners with deck screws, and drive stakes into the ground every 2 feet along the length of the formboards to keep the forms in place during the pouring of the concrete.
It is essential to verify that the top of the formwork is level and that the forms are sloped at the proper angle to drain water. Use a 4-foot level or a laser level to confirm that the top of the formwork is level and the forms are sloped at the proper angle. The high point of the formwork is usually against the house, and the forms slope downward as they move farther away from the house. Once you are satisfied with the positioning of the forms, cut the stakes off at the same height as the top of the forms. If the stakes are above the top of the forms, they can interfere with the operation of the screeds and finishing tools during the finishing process. Apply a release agent to the inside of the formwork to facilitate its removal after the concrete has cured.
Placing the Reinforcement Material
Reinforcing the concrete will add considerable strength and improve the durability of your patio. There are several types of reinforcing materials available. Wire mesh and rebar are commonly used in residential applications. Wire mesh is less expensive than rebar and can be easily bent to fit around corners and obstructions. Rebar is stronger than wire mesh and can be bent with the proper tools. Both wire mesh and rebar are best used in the bottom one-third of the slab thickness. For example, if you are pouring a 4-inch slab, place the reinforcement in the middle of the slab, approximately 1.5 inches above the base. Do not lay the reinforcement directly on the base material. Instead, support the mesh or rebar on small concrete blocks or commercial chair supports to keep it elevated and within the confines of the concrete.
Mixing and Pouring the Concrete
Making quality concrete is just as important as preparing the site and installing the formwork. Concrete is made up of five basic ingredients: cement, aggregate, sand, water, and admixtures. For residential applications in South Florida, a minimum of 4000 psi compressive strength concrete should be specified to meet the demands of the humid climate and normal usage. Ready-mix deliveries are preferred for larger patios, especially those greater than 80 square feet at 4 inches thick. Deliveries are more convenient for larger patios since the quantity of concrete to be delivered is significantly greater.
Try to arrange for concrete deliveries to occur early in the morning whenever possible. Temperatures in Miami Gardens frequently rise to 90 degrees Fahrenheit by noon, and rapid moisture evaporation occurs during this time, affecting the curing of the concrete. Arrange for assistance to arrive prior to the delivery of the concrete, as concrete placement is relatively quick once the truck begins discharging the concrete. Place the concrete in the forms systematically, working from one end of the patio to the other. Shovels are useful tools for spreading the concrete evenly and removing air pockets to create a uniform thickness throughout the patio.
Striking Off and Screeding the Surface
Once the concrete is discharged, strike off the excess concrete with a straight board placed on top of the forms. Striking off the surface will help to create a level surface and remove high spots. Move the screed board back and forth along the length of the forms, using a sawing motion, to create a flat surface. Complete two passes with the screed board, and repeat the process until the entire surface is level. It is helpful to have two people assist with the screeding process, as it is difficult to accomplish alone.
If the concrete is too wet, add more concrete to the low areas and continue to screed the surface. Continue to screed the surface until you have achieved a uniform height across the entire surface.
Floating the Surface
After striking off the surface, use a bull float to smooth the surface of larger patios, or a hand float to smooth the surface of smaller patios. Float the surface using overlapping arcs, followed by side-to-side strokes. Floating will help to bury the large aggregate particles slightly below the surface of the concrete and raise the finer particles closer to the surface. Floating will also help to create a smooth surface and widen the elimination of any minor irregularities caused by the screeding process. Residents of the Scott Lake neighborhood, or those residents whose homes are located near the Norland neighborhood, can expect to greatly benefit from this step, which lays the groundwork for the finishing work to come.
Creating Control Joints and Final Finishing
Control joints are designed to relieve the stress that inevitably builds up in the concrete as it dries and contracts. The control joints will help to prevent cracks in the concrete in straight lines instead of randomly scattered throughout the patio. Cut the control joints when the concrete is still wet, and ideally within the first hour of discharge. Cut the joints 8 to 10 feet apart in both directions, thus dividing the patio into squares or rectangles. Use a jointing tool and a straight board to cut the joints, and to guide the tool as you cut. Cut the joints one-quarter of the way through the thickness of the slab.
Allow the surface water to evaporate completely before performing the final finishing. If you attempt to perform the final finishing prematurely, you risk trapping excess moisture near the surface of the concrete, which will weaken the concrete and contribute to scaling problems. Once the surface water has disappeared and the concrete still feels “plastic”, use an edger to round the corners of the patio and to minimize chipping. After rounding the corners, apply your desired texture to the surface of the patio, using the proper tools. Broom finishes are easy to create and are suitable for beginners. Broom finishes provide good traction for the user, and are accomplished by running a soft-bristled broom over the surface of the patio in straight lines or gently arcing motions.
Finishing Considerations for the Florida Climate
Working in the extreme heat of the sun and the high humidity of the Florida climate can be challenging for even the most skilled finisher. Try to complete the finishing process as soon as possible after the concrete has been poured. Consider using evaporation retardants on especially hot or windy days to slow the rate of surface drying, giving you more time to complete the finishing process. Homeowners in neighborhoods such as Carol City, or those who live near the Hard Rock Stadium, may encounter different microclimates that can affect the concrete during the finishing process.
Curing and Protection
The curing of the concrete is the most critical phase of the installation process. Curing directly affects the ultimate strength of the concrete, as well as its durability. Concrete continues to cure for weeks after it has been poured, but the first seven days are the most critical. Apply a curing compound to the surface of the concrete immediately after the finishing process is completed. The curing compound will create a membrane on the surface of the concrete that will slow the rate of moisture evaporation and allow the cement particles to hydrate properly. Alternatively, cover the patio with plastic sheeting, although this method may leave a slight discoloration on the surface of the concrete. Covering the patio with plastic sheeting will also help to retain the moisture in the concrete. Another alternative is to continuously spray the surface of the concrete with a fine spray of water from a garden hose. Although this method will require constant attention, it will produce excellent results. Whichever method you choose to cure your concrete, be certain to prevent it from drying too rapidly. Rapid moisture evaporation will result in surface crazing, reduced strength, and increased susceptibility to cracking. Keep all foot traffic, heavy objects, and rain away from the newly poured concrete for at least 48 hours.
Removing the Formwork and Sealing the Joints
Remove the formwork after the concrete has gained sufficient strength to support its own weight. Typically, this occurs anywhere from 24 to 48 hours after the concrete has been poured, depending upon the weather conditions. When removing the formwork, carefully pry the formwork away from the edges of the concrete to prevent chipping. If there are any minor edge imperfections, fill them with a patching compound. Check the control joints and expansion gaps to ensure they are free from debris and loose material. Seal the control joints with a flexible joint sealant to prevent dirt from accumulating in the joints and weeds from growing through the joints. Flexible joint sealants remain pliable and will move with the concrete as it expands and contracts. Proper joint sealing will increase the lifespan of your patio and keep it looking its best. Consider applying a concrete sealer to the patio after the 28-day curing period to protect the surface of the concrete from staining and moisture intrusion. Concrete sealers are especially beneficial in high-humidity environments such as Florida.
Post-Installation Care and Maintenance
Do not place heavy objects such as furniture or appliances on your new patio for at least 7 days after completion. This is because concrete gains strength over time (especially the first week), and too much weight will likely damage the surface of the concrete, potentially causing it to crack. For the most part, your concrete patio will require little maintenance other than occasional cleaning and applying a protective sealant every 2-3 years. Regularly sweep away dirt and debris from your patio to prevent buildup. If you notice any stains on your patio, clean them immediately using an appropriate product for the type of stain.
If you want to pressure wash your patio to remove built-up grime and plant material, make sure to do so without using excessive force that could damage the surface of the patio. Keep an eye out for any cracks or signs of deterioration in your patio, and address them right away to prevent further damage. Apply sealant to your patio according to the manufacturer’s instructions to continue protecting it from water and stains. With proper care, your patio will provide years of fun and enjoyment for you and your family.
Benefits of Professional Installation
Even though knowing how to install a patio can be useful, a contractor has the tools, experience, and know-how to get a better job done. A licensed contractor who works in Miami Gardens has knowledge of the local soil conditions, what constitutes good drainage, and what climate issues are present. Contractors also have established relationships with reputable suppliers of concrete, have access to large commercial-grade equipment, and have liability insurance to protect homeowners from being held liable.
Professional installation is generally quicker than doing it yourself, which means less disruption to your home and your daily life. Contractors anticipate and solve potential problems as they occur. Most contractors offer a warranty for their workmanship and can help resolve any issues that arise after the job is complete. The benefits of hiring a contractor to install a patio usually far outweigh the costs of doing it yourself, especially when you are dealing with larger or more complex jobs.
Transforming Your Backyard into an Ideal Outdoor Living Area
A well-built and professionally installed concrete patio can take your outdoor living area to the next level by allowing for multiple uses, including relaxing, entertaining, and spending quality time with your family. By following the correct installation methods, your patio should last for many years in Miami Gardens’ climate. Regardless of whether you decide to hire a professional to build your patio or to do parts of the project yourself, having a general understanding of all of the steps involved, from designing and planning your patio to completing the finish work and applying the sealant, will give you the confidence to produce great results.
Miami Gardens Concrete Pros offers professional installation services of concrete patios that combine technical skill and creative design. We are experts in all aspects of concrete patio installation, and we handle everything from evaluating the location where your patio will be installed, obtaining the necessary permits, to the final finish and application of the sealant. We are knowledgeable about South Florida’s specific needs and utilize tried and true techniques to provide a long-lasting and visually pleasing patio. From the simplest rectangular patio to the most elaborate custom design featuring decorative components, we are capable of building an outdoor space that enhances your property and way of life.
LATEST POSTS